Pages

I have decided to live life to the fullest. I'm going to try and do new things on a regular basis, try and visit new places, try and not live such a boring life. In essence I want to live like a tourist in my own town. Visit places, see new things. Let's live this life to the fullest!!
Showing posts with label craft. Show all posts

Friday, November 12, 2010

Making Christmas Wreaths

So some girlfriends and I decided that we wanted to make wreath for this holiday season. We met at Starbucks for some coffee, went shopping at Michael's, and then headed to Kate's house to make our wreaths! There were about 8 of us making wreaths and a few others hanging out and making other things.

I decided to get really crafty and make a poinsettia ribbon wreath (directions found here)
 I had to make tons of ribbon flowers...

 But I think it turned out pretty good...what do you think?


 This is the one that Leslie made...

 This is the one that Amy made...

This is the one that Kate made...

And this is another one that I made...For this one I found the berry bunches and they reminded me of grapes from a vineyard! My mom is big fan of wine and so I made this one for here. Hope you like it Mom :)

We had a great day being crafty and hanging out!


Wednesday, November 3, 2010

Custom framing by me

To have framing done is ridiculously expensive. We've payed to have plenty of things done but I decided to try a new approach and see if I could do something myself. I had some of our friend John Boucek's photos printed but had to get them in some odd sizes so that they wouldn't crop the photos.

I went to Michael's and picked out a frame. They were doing a sale of buy one get one for a penny! I did something similar to another picture but it's a Christmas present so I can't post it yet :-) I picked out some fairly simple black frames in larger sizes so that I could fit my odd sized photos.

After I chose the frames I went over to the poster board section to pick out my "matting." I had my pictures with me which really helped. I picked out a silver one to go with these two black and white photos and my black frame.
Here are all my materials for the one I did for Mike and I. 
I decided to put two of the pictures into one frame.


 Here is a photo of the finished product...
I have an idea of where I'm going to put it but I'm waiting on some other "projects" I have in mind to come together first. I want to do a photo frame wall with this one incorporated.

All in all I did both frames for about $60. Not too bad considering framing these two pictures into one would probably have been about $300 or so!! I'll post the other one after Christmas (if I remember).

Monday, October 25, 2010

Be proud, make a sign

It's fun to drive around the neighborhoods and see squadron signs in the yard. Every squadron has patches for their uniforms, and the same design is often put on a yard sign that you can put in your front yard to say "Hey, look at me, I'm in VFA-???" Well our new squadron did have someone that made these for them but apparently he turned out to be not such a nice guy, and he didn't do quality work, so they no longer work with him. So while mom was in town I put her to work! (And yes I did help, even though I'm not in any of the pictures working...) We made our own sign...

This is what we needed to make:


We went to Home Depot and bought a 2x2 piece of wood for $7. Went to Michael's and bought paint in the correct colors for about $10.

First step was to sand and prime the board...both sides. We painted the back side in a coat of the navy blue paint so it would look stream-lined all the way around.


 Step two was to put the "mach wave" and the light blue circle. We went and measured another sign and did our best to get the angles right. We discussed that there needs to be a template that the squadron hangs onto with the exact measurements...it would have made things so much easier!!

 Step three was to put the navy blue around the outside. We did about 2-3 coats of paint for each color.

Step four was to put the four diamonds in the correct place in the middle (I didn't a get a picture of this step). The diamonds are navy blue (hence Blue Diamonds...actually they are supposed to represent four hornet flying in the diamond formation with the mach wave)

Step five was to spray a sealant to help guard against the elements. I used a glossy Mod Podge spray paint sealer. As we are entering the winter and rainy season we'll see how well it holds up.

I still need to get a post to attach it to so I can stick into the ground, but right now I just have it leaning up against the house... Here is our finished product, not perfect but hey it's home-made!!!


Friday, September 24, 2010

Getting Creative is Always Fun, Making Magnets

So my girlfriend bought a magnet at a thrift store and decided she was going to recreate...and that's just what we did!!

Supply List:

- pictures to use (you can cut them out of magazines or use your own pics)
- round clear acrylics (similar to the little ones used in flower vases only larger)
- mod podge
- small paint brush or foam brush
- scissors
- magnets
- hot glue gun

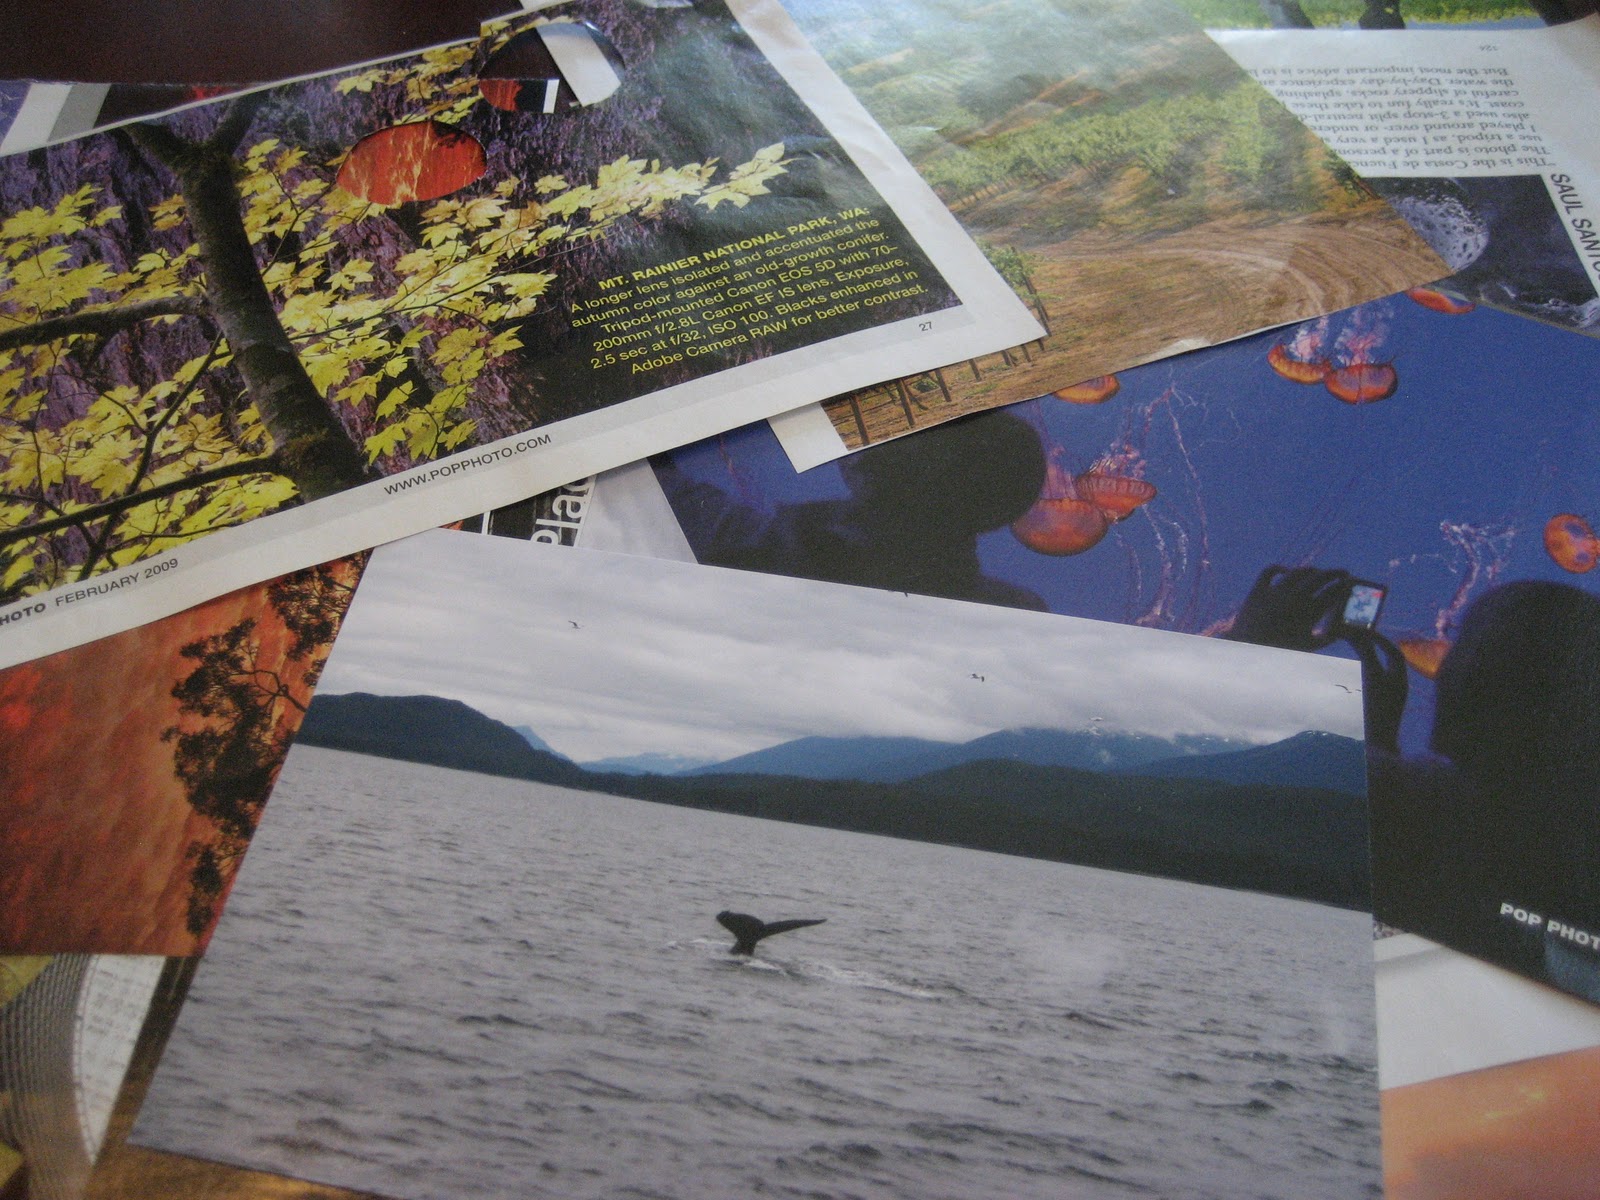
Step 1: Gather pictures or cut them out from magazines. It helps if you have one of clear crystals so you can see exactly what will show up.

(here are the crystal things we used)

 Step 2 & 3: Apply Mod Podge to the back of the acrylic crystals and then fit the picture, allow that to dry. Once that is dry apply Mod Podge to the back of the picture, making sure to glue all the edges to the acrylic, allow that to dry.


 Step 4: Using the hot glue gun, glue the magnet to the back of the picture, make sure to apply ample pressure so the glue coats the entire backside of the magnet.


Make as many as you want! They will make a great gift, a home-made "set" of magnets. I did some with an animal theme, and sunset theme, an outdoor/hiking theme...You can do whatever you can find pictures for! It's a great way to pass the time on a rainy day or a lazy afternoon.


LinkWithin

Related Posts Plugin for WordPress, Blogger...